
Add to the Product Catalog
PLEASE NOTE:
Only an Owner or Admin role can add to the Product Catalog.
If you are a Franchisee of a larger brand, or if you can only access ONE OF MANY LOCATIONS within the Dashboard, SKIP over this article and go to the Add to Shop from Product Catalog article.
If you need to upload new products to your shop which are not already in the Product Catalog, the corporate team for your Club’s brand will have some intake form for importing new items into the Product Catalog for you. You will need to contact them for assistance.
To learn more, read about Shop page Locations
You have two options for importing your Products into the POS Shop.
Add products one by one
If your Club only has a few items to add, you can add them one by one
Import a CSV with multiple products
If your Club has many items to add, it’s best to import them all together
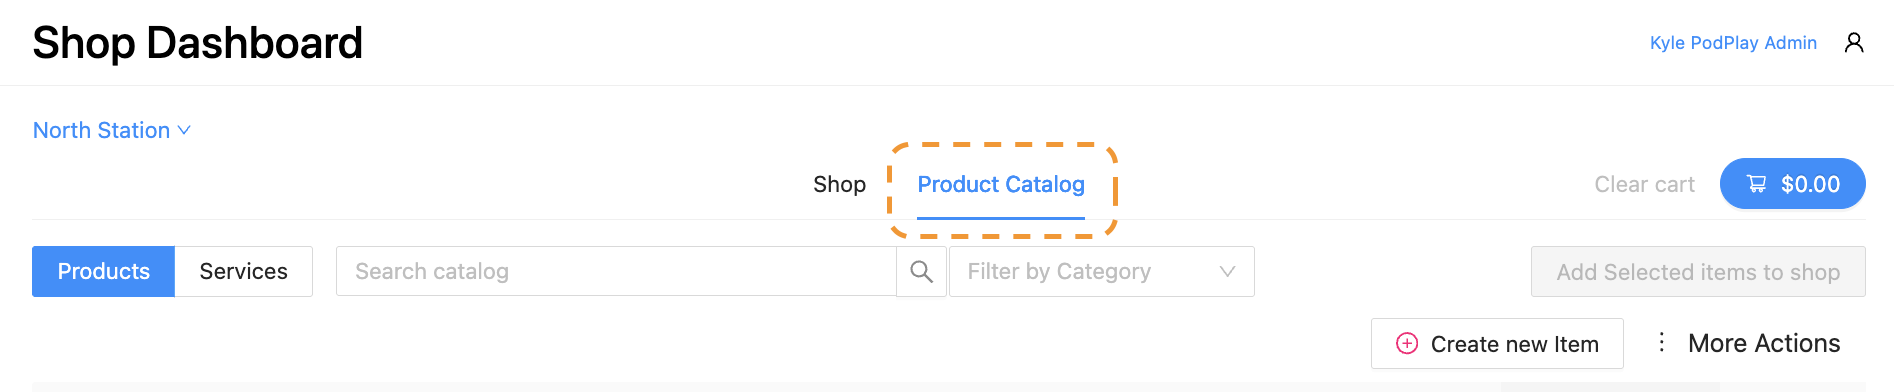
Any time you add a Product, you will want to click on the Product Catalog tab of the Shop page.
Categories and Subcategories
Before adding to the Product Catalog, it is necessary to create the Categories first. If you are adding products one by one, continue reading. If you are adding products via CSV Import, skip down to the Import CSV section in this article.
The Category is the high-level classification of your products. Subcategories allow for distinctions between the high-level classifications. Examples of Categories and Subcategories include:
Kitchen
Drinks and Snacks
Pro-shop
Balls or Paddles
Clothing
Shirts and Sweatshirts
Equipment
Paddle Cases
Animals
Pets and Wild
Technology
Hardware and Software
Etc.
These high-level and lower-level classifications will allow you to complete future functions more effectively, like Assign Tax Categories and Edit Products in the Shop.
To create a Category:
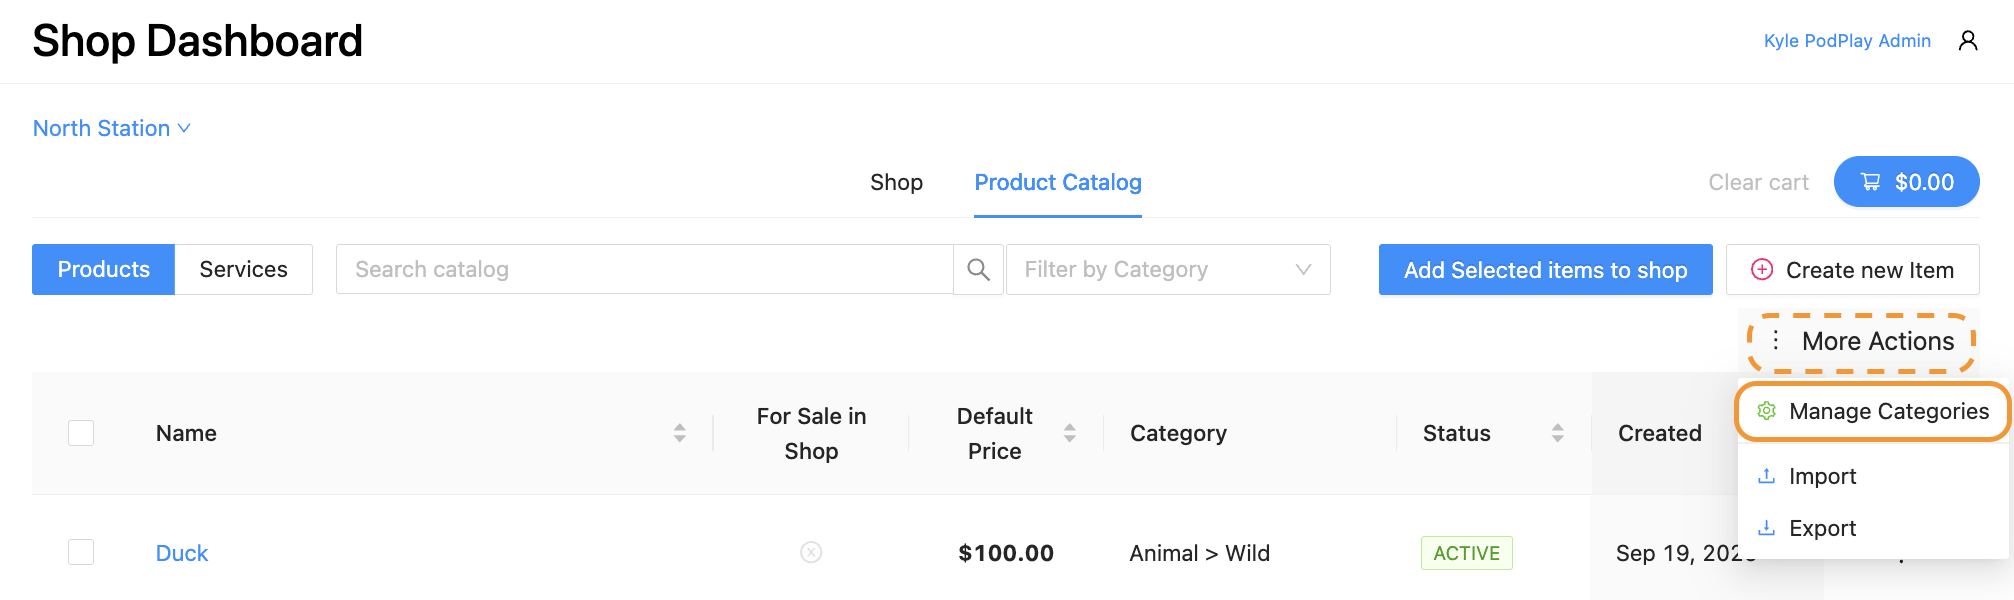
Click on More Actions
Select Manage Categories
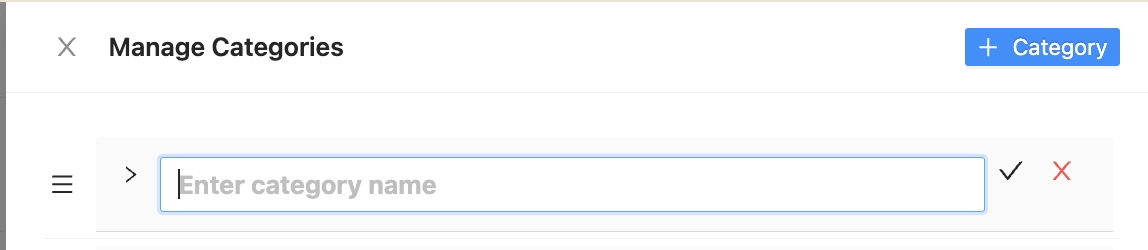
In this side panel, you can create a new Category by:
Clicking the blue “+ Category” button in the top right
Typing in the name of the Category
Click on the check mark to the right
The Category will now become visible and you can create a Subcategory:
Click on the pencil icon to the right of the Category name
Notice a new text box appears beneath it
Type in the name of the Subcategory
Click on the check mark to the right

With the Category and Subcategory now created, you can now add to the Product Catalog.
Add Products One by One
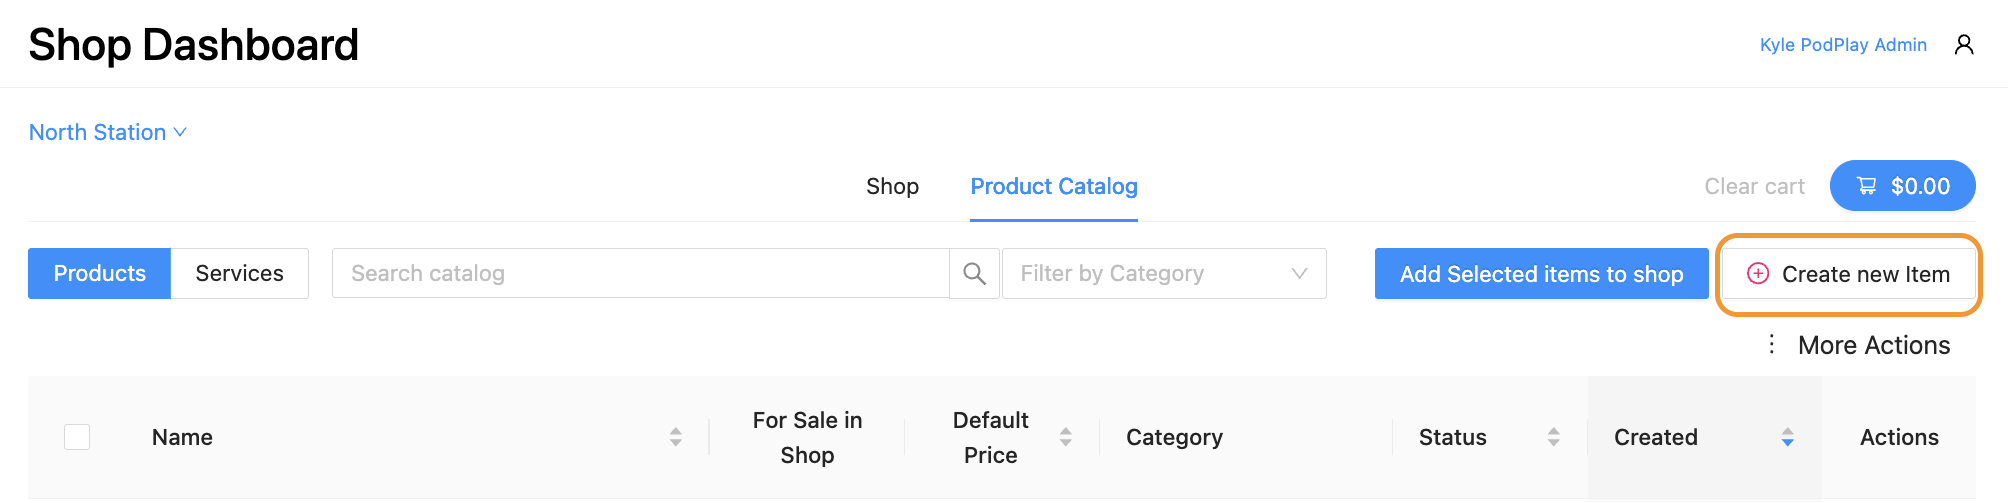
To add a single item to the Product Catalog:
Click on the “Create new item” button on the right side of the screen
Notice a side panel pops-up
On this side panel, you can:
Add a Product Name
Choose the Category (refer to the section above about Categories and Subcategories)
Select a Status (Active or Inactive; it’s a good idea to choose Active and save a step in the future)
Set a Default Price (price set here can be adjusted by Shop Location)
Add a SKU (every SKU must be unique; here’s a how-to article for good practices on SKUs)
Add a UPC (Barcode) (this can be added later and needs to be exact if you are scanning an item in the future; scanning an item for the Shop is not available yet)
Upload a Picture (this can be added later and is necessary when the Shop is public facing)
Add a Description to the item (valuable to have on the receipt after the Customer’s charged)

You may notice the boxes for “Add to [Location] Shop” and “Add another product” are toggled on.
If you are not sure if you want to add the item to the Product Catalog and to the Shop at the same time, toggle off the “Add to [Location] Shop”
If you want to add items to the Product Catalog and to the Shop at the same time (thereby skipping over the need to Add to Shop from the Product Catalog, leave the box toggled on
If you want to add another item after adding the current one, leave the “Add another product” box toggled on
If you are finished adding items to the Product Catalog, toggle off the “Add another product” box
Importing a CSV
To import a CSV and bulk add products to your Product Catalog:
Click on the “More Actions” button on the right side of the screen
Select the Import option
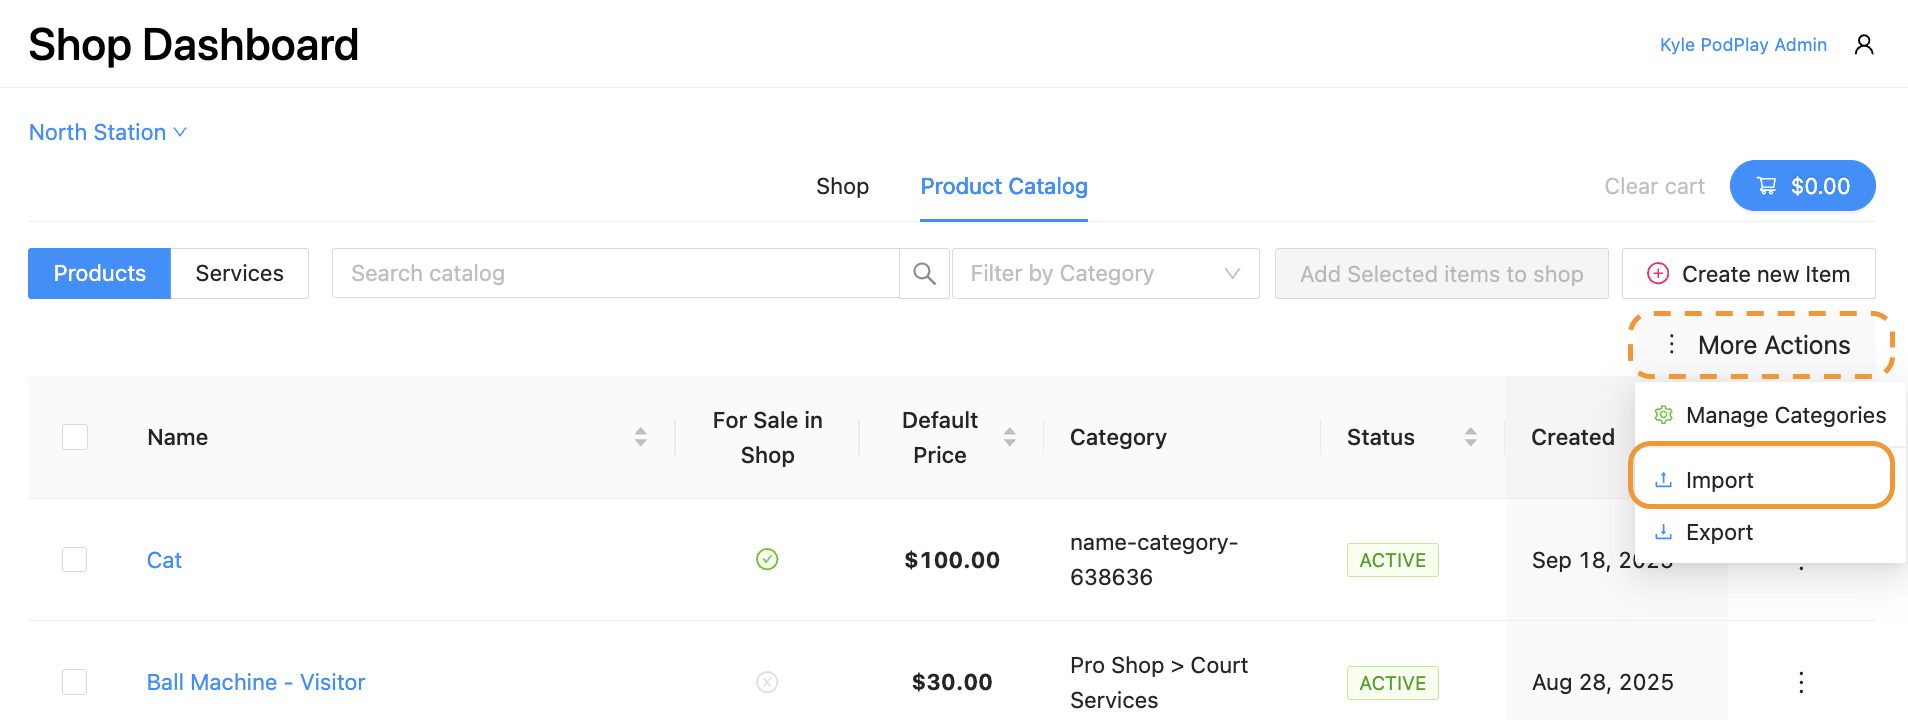
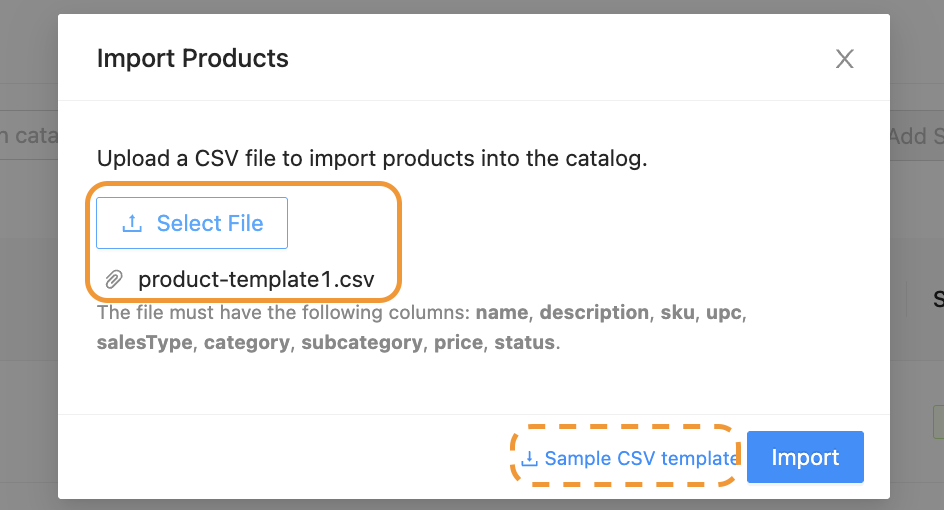
Notice a pop-up window will appear
If you are not ready to import, click on the “Sample CSV template” to download a CSV file
More on the template to import below
If you are ready to import, click on the “Select File” button
Verify the correct CSV is ready to add to the Product Catalog
Click on the blue “Import” button
You will now see all of the products prepared in the CSV file are now visible inside the Product Catalog!
The next step is to Add to Shop from the Product Catalog.
Editing the CSV to Import
PLEASE NOTE:
If you already have products in your system, uploaded by PodPlay NOT into the Product Catalog, ask your PodPlay CSM for a CSV file of your items currently in the system; you will need to import these items to your Product Catalog now that the Shop is a full feature.
If you uploaded items to the Product Catalog before, you DO NOT need to click on the Export button and re-import all of the items again; you can simply import the new items to your Products Catalog.
Once you have downloaded the Sample CSV template, you will notice there is arbitrary information in each of the cells. This is a guide for you when adding your products to the CSV before import.

Use the data in the “Sample CSV template” as a reference when adding your products to the template. YOUR CSV MUST HAVE the cells in bold below:
NAME
DESCRIPTION
SKU
You can add the specific SKU of the product, from the product’s packaging, or use a formula for the SKU (here’s a guide on creating SKUs).
UPC
If you want to be able to scan your products, you will need to scan the actual product barcode. If no UPC is added to your spreadsheet, one can be added later.
CATEGORY (see below)
SUBCATEGORY (see below; we recommend this is different from the Category)
PRICE, WITH NO “$”
STATUS = ACTIVE (having “INACTIVE” in the Status column will mean another step in the Product Catalog to make the items ACTIVE)
Categories and Subcategories on Import
The Category and Subcategory are distinctions included in the Purchase page Export.
To learn more about the Export, read the Settlements and Line Items Exports.
The Category is the high-level classification of your products. Subcategories allow for distinctions between the high-level classifications. Examples of Categories and Subcategories include:
Kitchen
Drinks and Snacks
Pro-shop
Balls or Paddles
Clothing
Shirts and Sweatshirts
Equipment
Paddle Cases
Animals
Pets and Wild
Technology
Hardware and Software
Etc.
These high-level and lower-level classifications will allow you to complete future functions more effectively, like Assign Tax Categories and Edit Products in the Shop. Here’s an example of a completed template before import.

Once the Import is finished, your items will populate at the top of the Product Catalog.
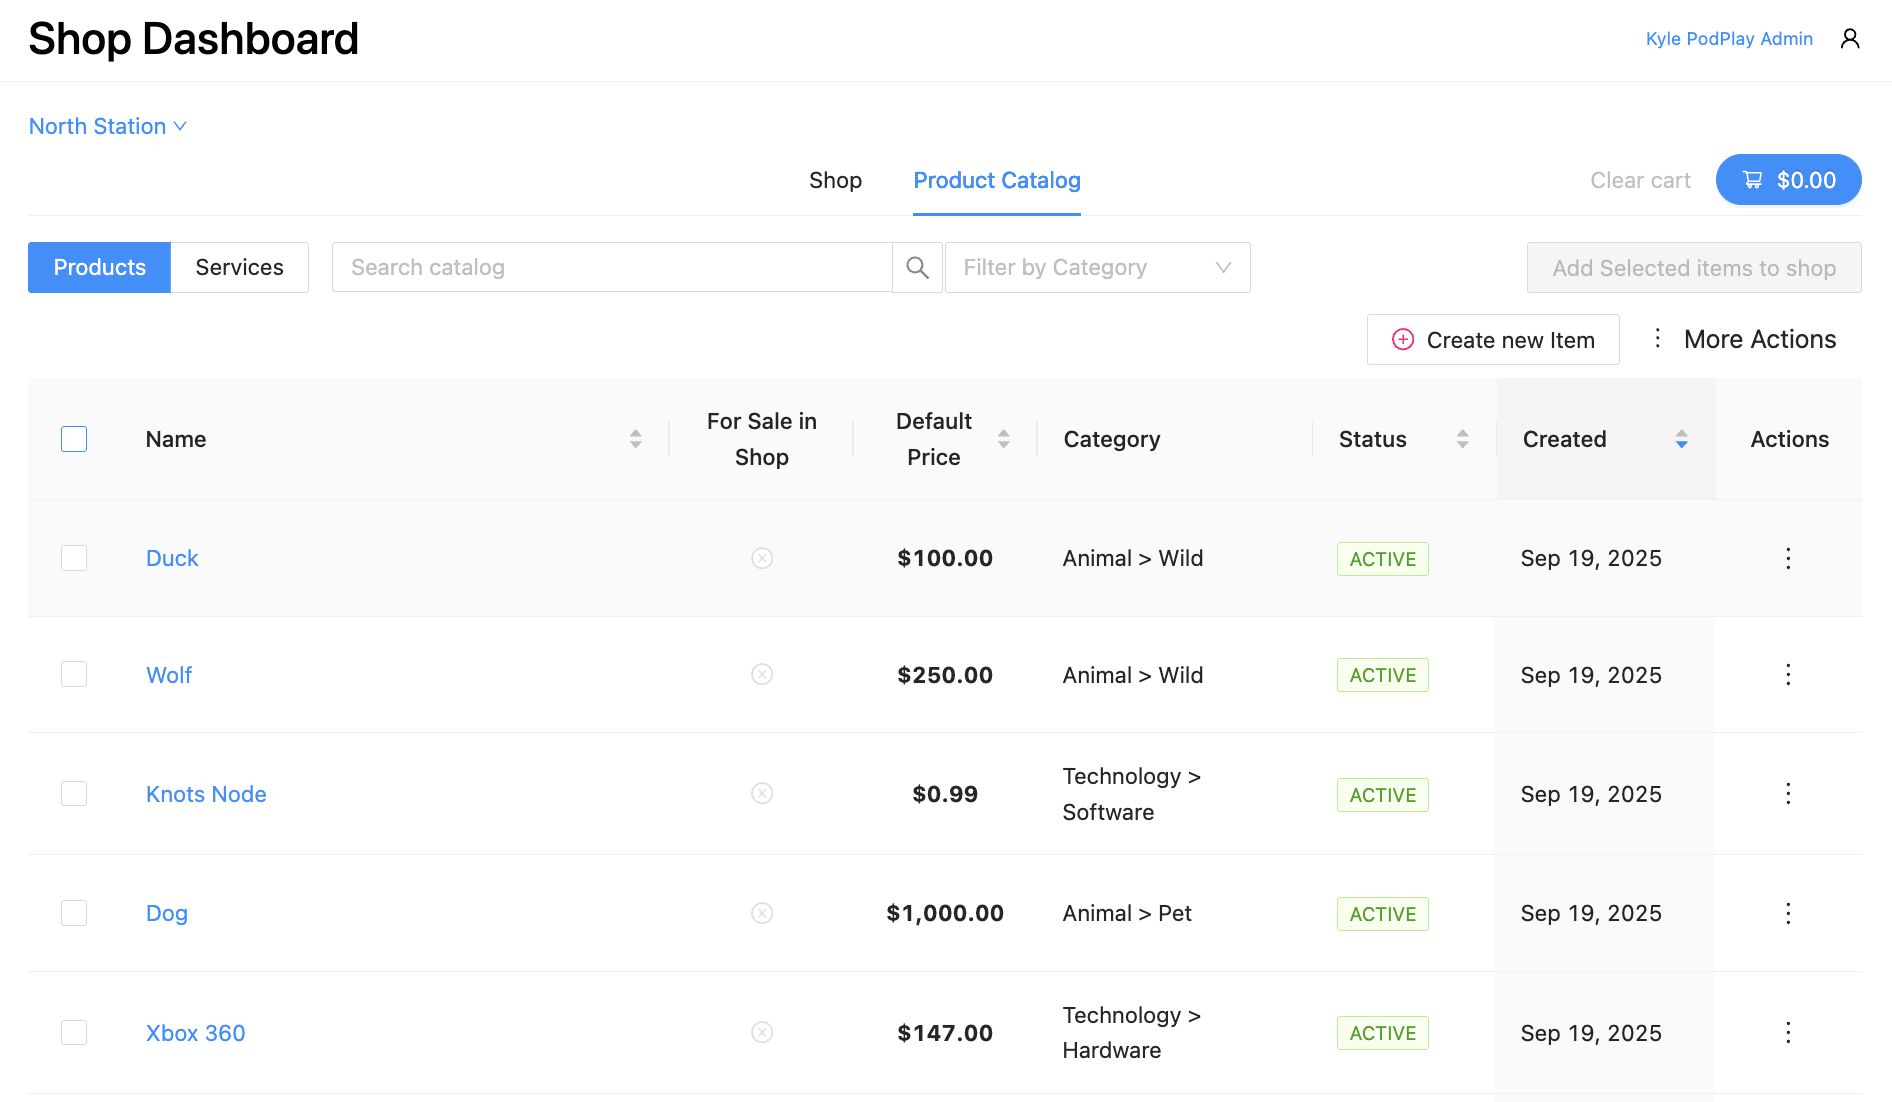
The next step is to Add to Shop from the Product Catalog.